nodejs小案例
- YHF管理系统 升级优化
- 实现增删改查
- 模块化
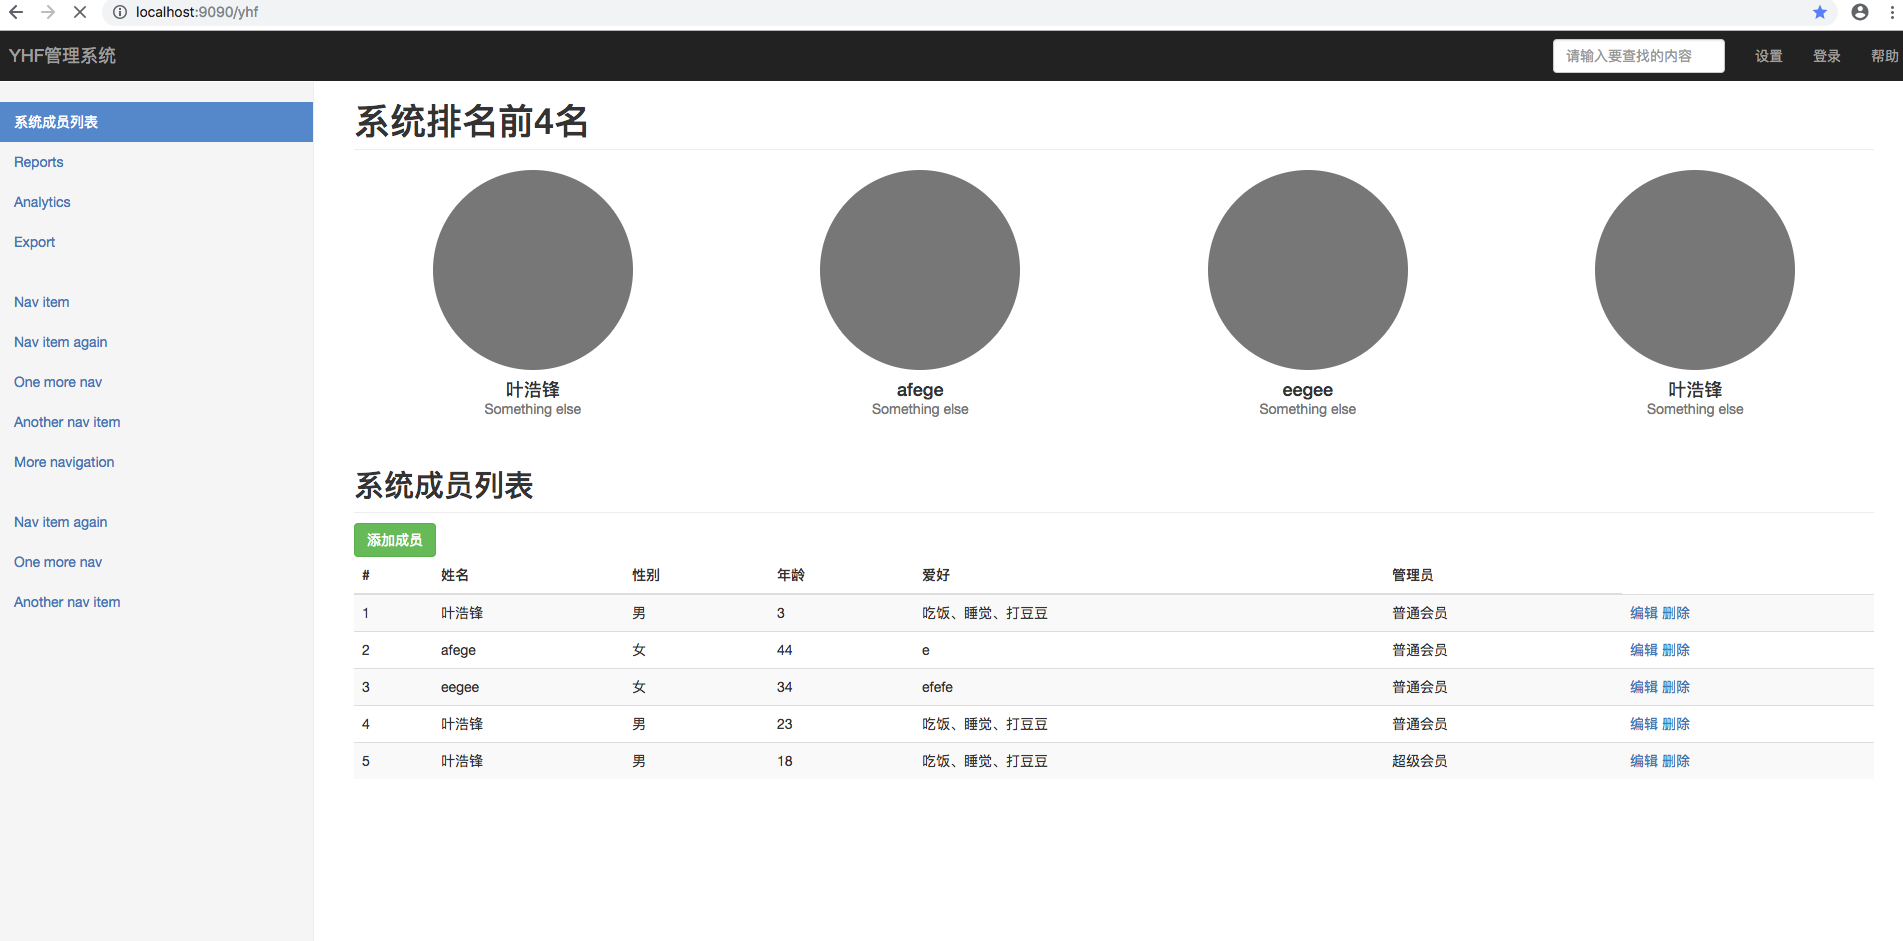
YHF管理系统
效果图
起步
- 初始化
- 模板处理
- 案例说明
路由设计
| 请求方法 | 请求路径 | get 参数 | post 参数 | 备注 |
|---|---|---|---|---|
| GET | /yhf | 渲染首页 | ||
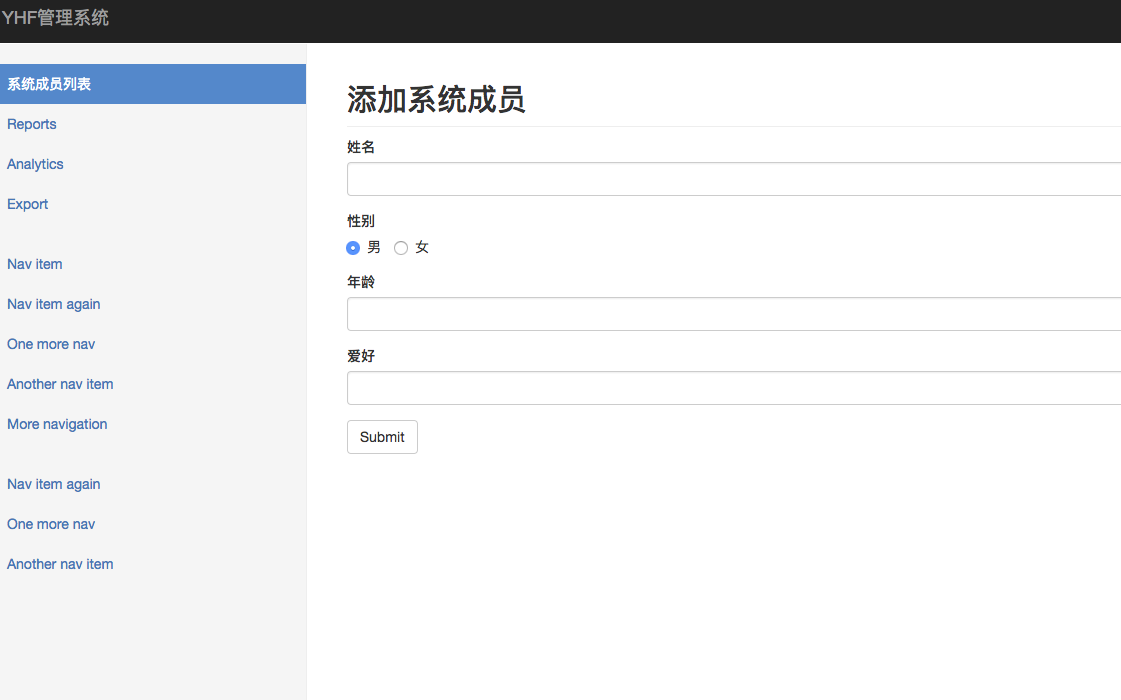
| GET | /yhf/new | 渲染添加系统成员页面 | ||
| POST | /yhf/new | name、age、gender、hobbies、admin | 处理添加系统成员请求 | |
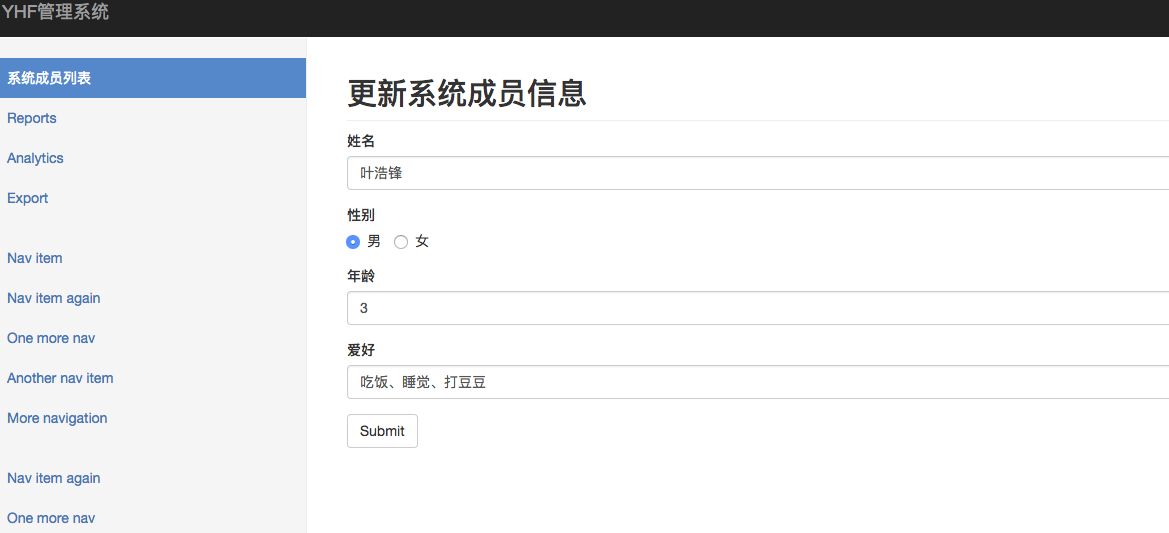
| GET | /yhf/edit | _id | 渲染编辑页面 | |
| POST | /yhf/edit | id、name、age、gender、hobbies、admin | 处理编辑请求 | |
| GET | /yhf/delete | _id | 处理删除请求 | |
案例说明
- 1.页面的数据
- 用 mongdb 装数据
- 挂载路由
- app.get app.post 路由
- app.listen 开启服务端口
- node_modules \ public 页面数据共享
- 2.页面显示
- router.js 和 students.js 控制路由与业务逻辑(模块化)
- Express 为 Response 相应对象提供了一个方法:render
- render 方法默认是不可以使用,但是如果配置了模板引擎就可以使用了
- res.render(‘html模板名’, {模板数据})
- 第一个参数不能写路径,默认会去项目中的 views 目录查找该模板文件
- 也就是说 Express 有一个约定:开发人员把所有的视图文件都放到 views 目录中
- express 模版引擎 express-art-template使用 res.render(‘文件名, {模板对象})
- 3.数据传输
- body-parser 中间件 解析表单 POST 请求体 req.body 得到数据
- 4.使用的外部插件
- mongoose
- express
- express-art-template
- body-parse
- 5.项目地址
- 6.开发配置
- mac os 10.13.3
- npm 6.4.1
- node 10.10.0
- Bootstrap v3
- 7.案例功能
- 添加成员
- 更新成员信息
- 删除成员
- 查看成员
- 7.案例查看/使用
- sudo git clone https://github.com/YHF7/Node.git
- cd mypro/nodejs2/glxt
- node app.js
插件安装配置
express 前端开发框架
1.安装1
2npm init -y //添加json初始化文件
npm install express --save//安装express
2.引包1
const express = require('express');
3.创建服务1
const app = express();
4.使用1
2
3app.get('/', function (req, res) {
req.send('index.html')
})
art-template 模版引擎 (配置在express中)
安装使用
1.安装1
2npm install --save art-template//express-art-templat依赖了art-template所以可以不用记载但是要安装
npm install --save express-art-template
2.配置1
app.engine('art',require('express-art-template'))//art 可以替换成其他的标示 html 等
3.使用1
2
3
4
5
6
7app.get('/',function (req,res) {
// 在 Express 中使用模板引擎有更好的方式:res.render('文件名, {模板对象})
// 可以自己尝试去看 art-template 官方文档:如何让 art-template 结合 Express 来使用
res.render('index.html',{
title: 'hello world'
});
});
4.如果希望修改默认的 views 视图渲染存储目录, 可以如下修改1
2// 第一个参数 views 不能写错
app.set('views', 目录路径)
body-parser 中间件(解析表单 post 请求体)
1.安装1
npm install --save body-parse
2.引包1
const bodyParser = require('body-parser);
3.配置1
2
3
4// parse application/x-www-form-urlencoded 解析application
app.use(bodyParser.urlencoded({ extended: false }));
// parse application/json 解析
app.use(bodyParser.json());
4.使用1
2
3
4
5
6
7
8
9
10app.post('/post',function (req,res) {
var myDate = new Date();
var year = myDate.getFullYear(); //获取完整的年份(4位,1970-????)
var month = myDate.getMonth() + 1; //获取当前月份(0-11,0代表1月)
var date = myDate.getDate(); //获取当前日(1-31)
let comment = req.body;
comment.dateTime = year + "-" + month + "-" + date;
comments.unshift(comment);
res.redirect('/');
})
mongoose (mongodb数据库链接插件)
1.安装1
npm i -S mongoose
2.引包1
const mongoose = require('mongoose');
3.配置
// 连接数据库1
mongoose.connect('mongodb://localhost/test');
// 创建一个模型
// 就是在设计数据库
// MongoDB 是动态的,非常灵活,只需要在代码中设计你的数据库就可以了
// mongoose 这个包就可以让你的设计编写过程变的非常的简单
4.使用1
2
3
4
5
6
7
8
9
10const Cat = mongoose.model('Cat', {
name: String
});
// 实例化一个 cat
const kitty = new Cat({
name: 'yhf'
});
// 持久化保存 kitty 实例
kitty.save().then(() => console.log('meow'));
数据库安装开启
安装1
sudo brew install mongodb
开启1
sudo mongod
链接(默认链接本地服务)1
mongo
退出1
exit
基本命令:1
2
3
4
5
61. show dbs 查看显示所以数据库
2. db 查看当前链接打数据库
3. use 数据库名称 切换到指定打数据库(如果没有会新建)
4. 插入数据
5. show collections 查看数据集合
6. db.students.find() 查看库中所以的数据