前言
- 写项目遇到使用 svg 很久之前在 html 上用过
- 在 vue 上使用还是第一次弄了好久,最后找到了两种方法
- 第一种是官网上的还有一直是基于 webpack 的
- svg 好处还是很多的,可随意变更图片颜色
- 第二种方法封装了使得用起来更加的方便,不过配置的时候稍微有一点点麻烦
工具/资料
- 系统 macOs 10.13.3
- 开发工具 vs code
- 文档 npmjs.com
- svg: https://www.iconfont.cn/
- vue-cli3 项目
- webpack 4.0 以上
- npm cnpm yarn 其中一种
- 第一方法插件 vue-svg-loader vue-template-compiler
- 第二方法插件 svg-sprite-loader
开始
1. 第一种方法官网默认(vue-svg-loader)
- 安装插件(sudo 非苹果系统不需要加)
1 | $ sudo cnpm i -D vue-svg-loader vue-template-compiler |
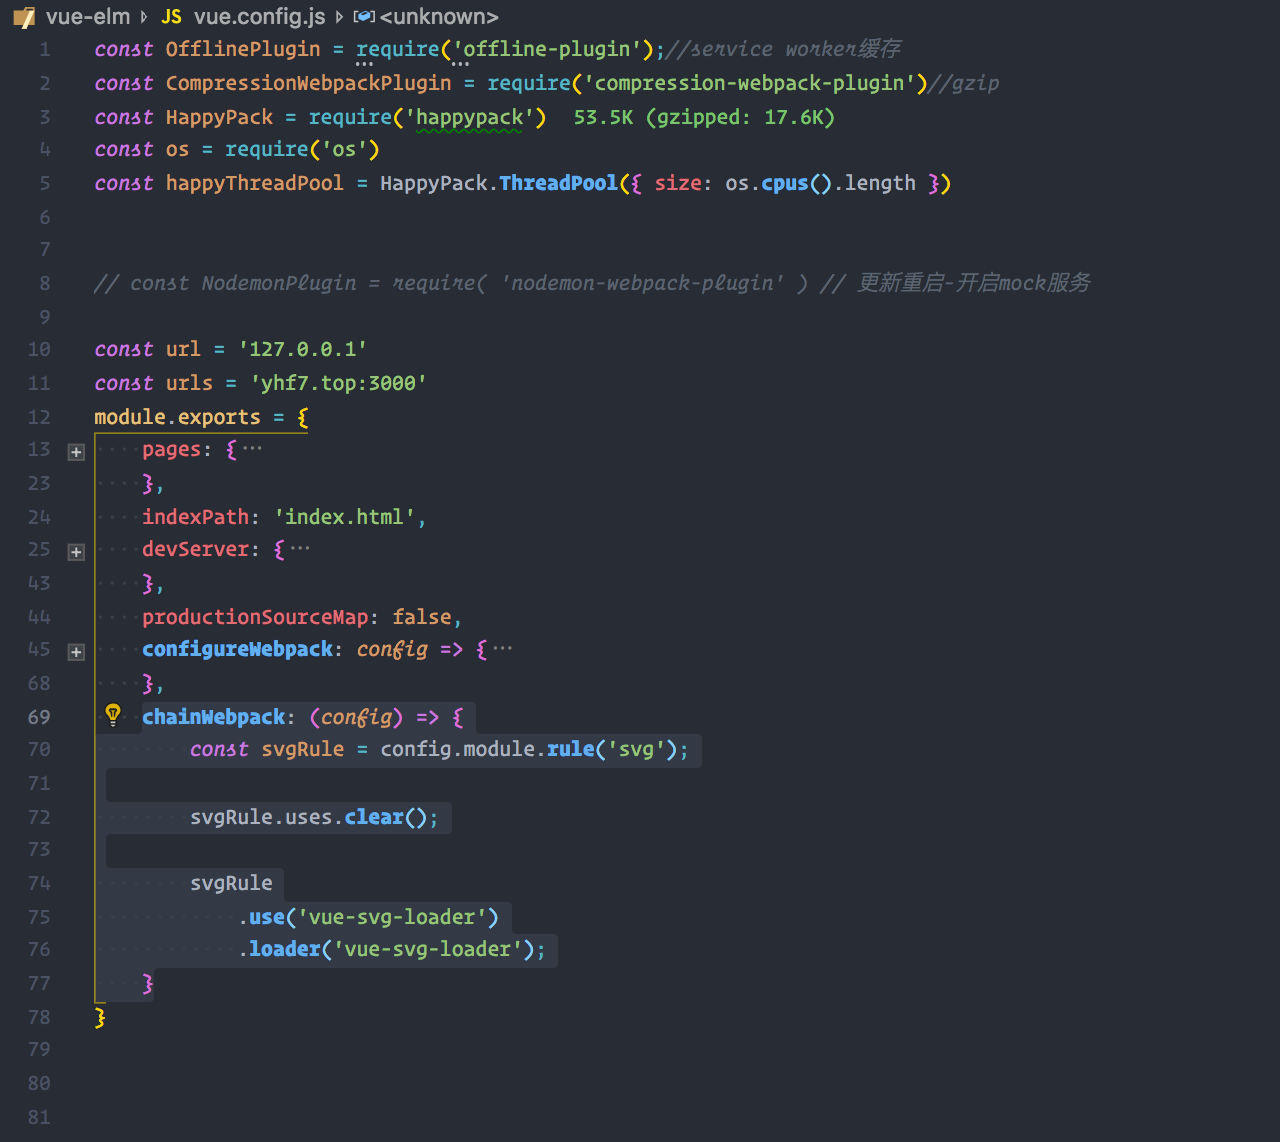
- 配置 webpack(vue.config.js)
1 | module.exports = { |
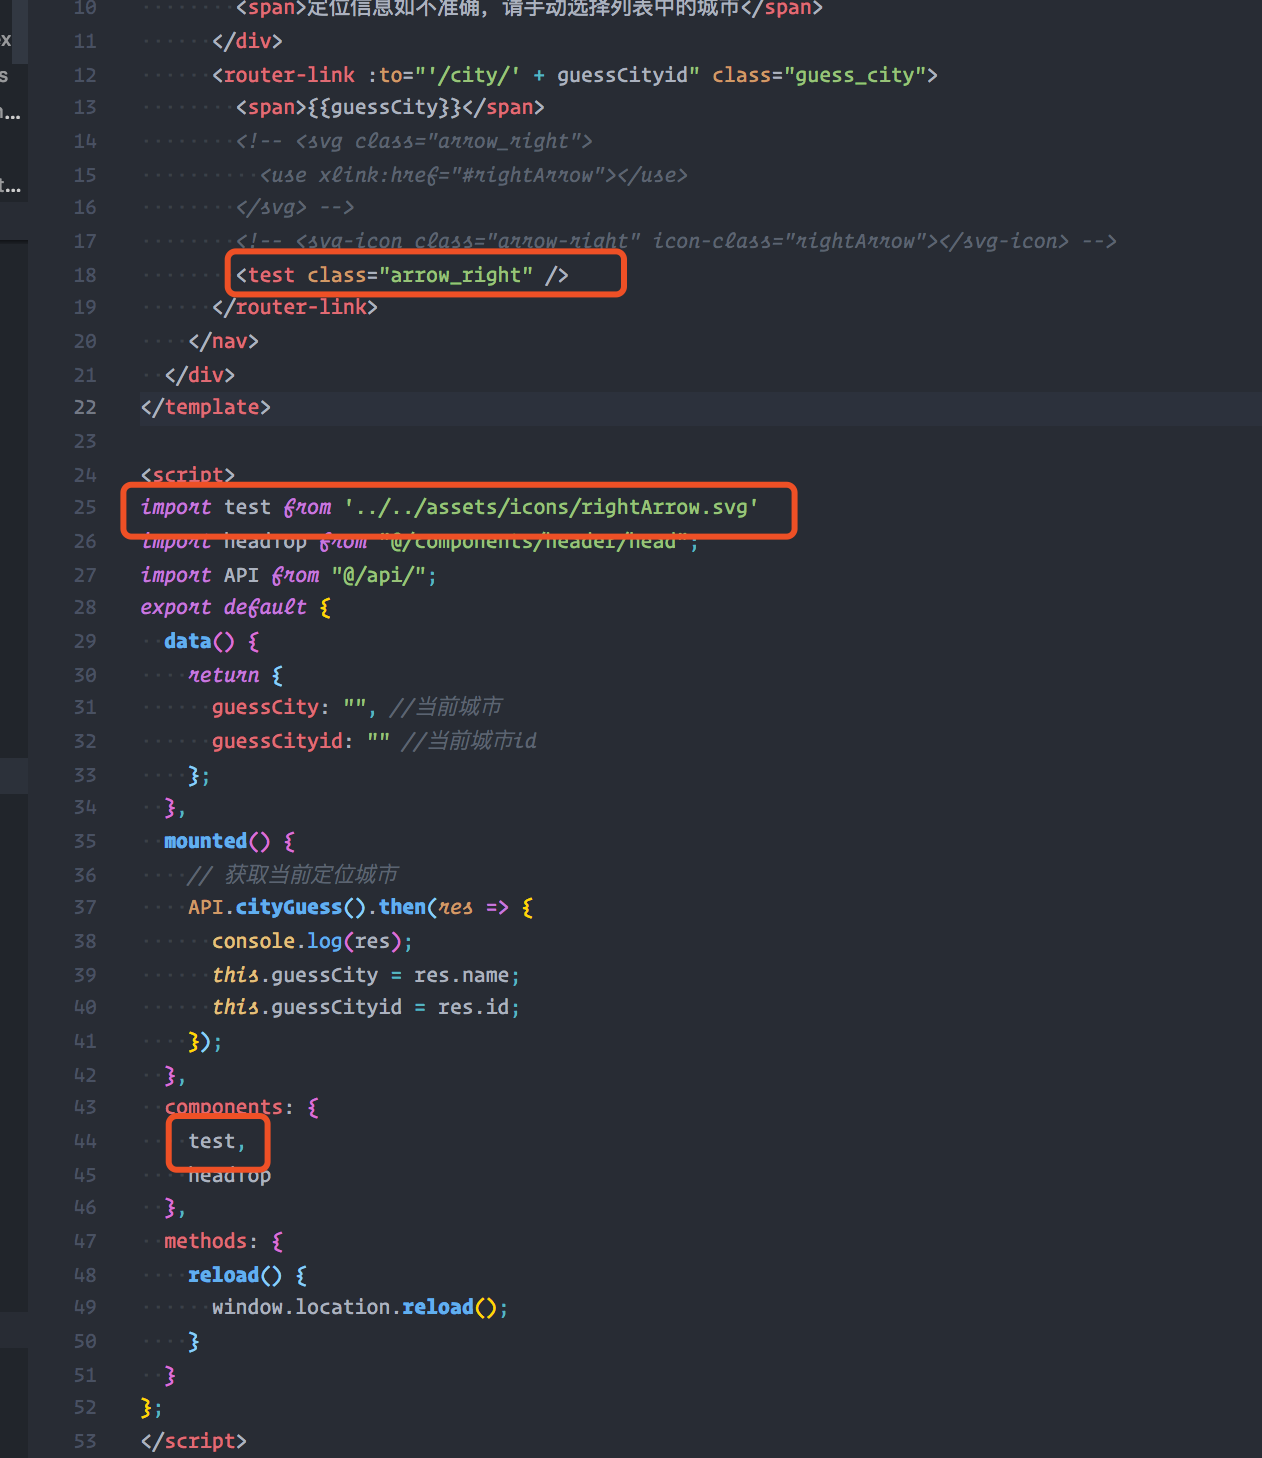
- 引入 svg 使用(和用组件一样)
1 | <template> |
- 查看效果(这里我写了 css 的)

2. 第二种方法在网上找到的别人封装了的(svg-sprite-loader)
- 安装插件
1 | $ sudo cnpm i svg-sprite-loader -S |
- 配置 vue.config.js
1 | const path = require("path"); |
- 配置封装 svg 组件
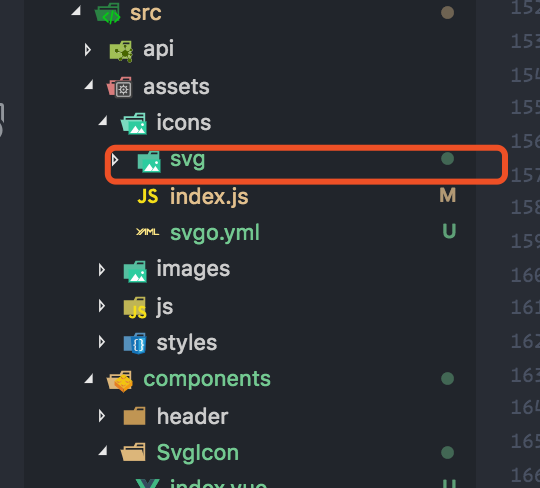
- 在 components 创建组件 (/SvgIcon/index.vue)
1 | <template> |
- 配置引入组件(icons 目录下建立 index.js 文件)
1 | import Vue from "vue"; |
- 引入 svg 配置文件(main 引入)
1 | import "@/assets/icons"; |
- 使用 svg (无需引入只需要用 svg-icon 标签即可)
1 | <template> |
后记
- 这就是我所使用的两种 svg 的方法,个人感觉第二种用起来更加便捷
- 欢迎进入我的博客:https://yhf7.github.io/ 或 https://yhf7.top
- 如果有什么侵权的话,请及时添加小编微信以及 qq 也可以来告诉小编(905477376 微信 qq 通用),谢谢!